How to Complete Framing With Smooth, Paint-Ready Walls
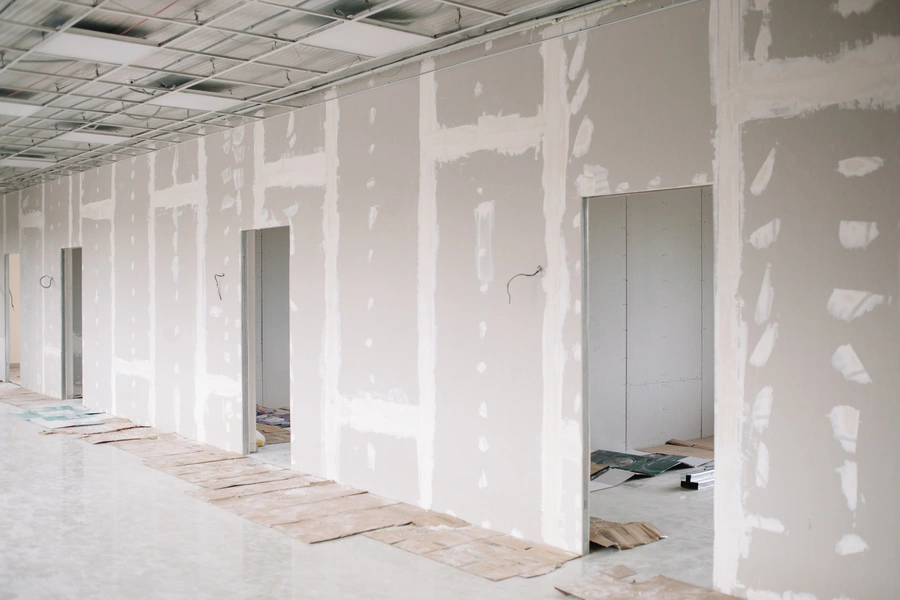
The finishing touches in drywall installation for framing are all about taping, mudding, sanding, and smoothing the surface so it is ready for paint or texture. After framing is complete and drywall panels are hung, the final steps hide seams, cover fasteners, and create clean corners. When done right, the wall looks flat and solid, with no visible joints or bumps.
What You Need Before Starting
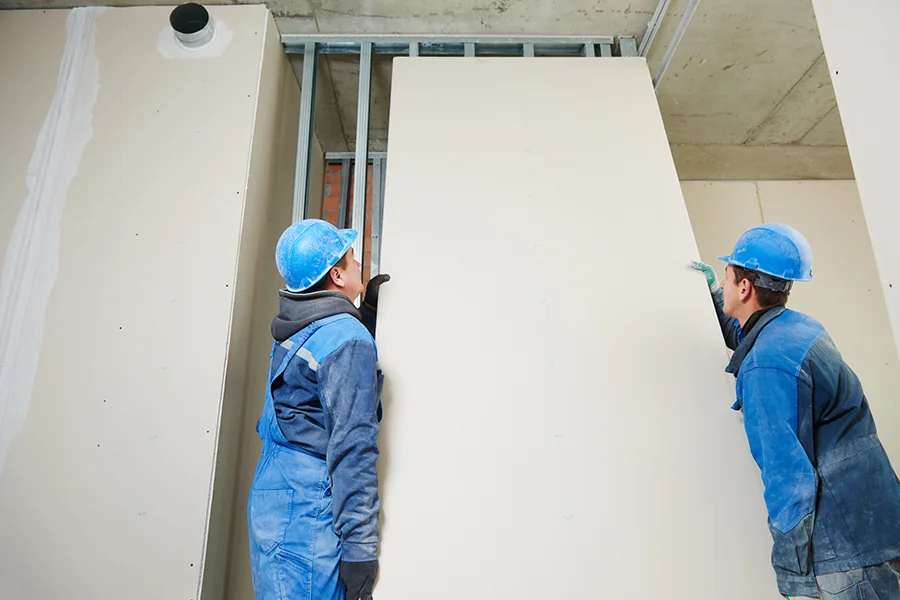
Before you begin the finishing stage of drywall installation, make sure the framing is solid and the drywall sheets are installed correctly. Screws should sit slightly below the surface, not sticking out or tearing the paper. Joints should be tight, with no big gaps between panels.
Gather basic tools and materials:
- Joint compound (all-purpose or lightweight)
- Drywall tape (paper or mesh)
- 6-inch and 10- or 12-inch taping knives
- Corner trowel
- Sanding sponge or pole sander
- Drywall screws for minor touch-ups
Good lighting also helps. Shadows can reveal dips or ridges you might miss in dim light.
Step-by-Step Finishing Process
Once panels are secure, follow these steps to complete the surface.
-
Apply the first layer of joint compound over seams. Press drywall tape into the wet compound and smooth it out with a knife.
-
Cover screw heads with a thin coat of compound. Scrape off extra mud so the area stays flat.
-
Let the first coat dry fully. Dry time depends on humidity and airflow.
-
Apply a second coat over seams and screws. Use a wider knife to feather the edges outward.
-
After drying again, apply a third thin coat if needed. This helps blend joints into the wall.
-
Lightly sand the surface once everything is dry. Wipe away dust before priming.
These steps are the heart of finishing touches in drywall installation for framing. Patience makes a big difference. Thin, smooth coats are better than thick layers that crack.
Common Mistakes to Avoid
Many problems show up during the finishing stage of drywall installation. Most come from rushing or using too much compound.
- Applying thick coats that take too long to dry
- Not letting each coat dry before adding the next
- Skipping proper sanding between coats
- Leaving ridges from the taping knife
- Forgetting to check inside corners and ceiling joints
Another common issue is poor framing alignment. If the studs were uneven, the drywall may bow slightly. In that case, finishing work alone may not fix the surface fully. This is where experience in general construction helps spot deeper issues early.
When to Call a Professional
Small patches and simple rooms are often manageable for skilled DIYers. But large areas, tall ceilings, and detailed corners can be harder than they seem. Smooth walls require a steady hand and an eye for detail.
You may want help if:
- Your seams keep cracking
- You see bubbles under the tape
- The surface looks wavy after sanding
- You are finishing a whole home or commercial space
Professionals handle drywall installation daily. They know how to feather joints wide enough so they disappear under paint. They also use high-quality tools that speed up the process and reduce mess.
Final Recommendation and Next Steps
If you want smooth, long-lasting results in Roosevelt, UT, our team at Tavo's Construction is ready to help with expert drywall installation and detailed finishing work. We focus on tight seams, clean corners, and surfaces that are ready for primer and paint. Call (801) 702-6740 to speak with us about your project and schedule a walkthrough with our crew.